Unlock Energy Savings with DIY Electrochromic Window Film
Homeowners seek reliable methods to decrease energy expenses while preserving comfort and aesthetic appeal. Windows play a pivotal role in regulating light, temperature, and privacy within a home. Electrochromic window film, known as smart window film, provides an innovative retrofit option that eliminates the need for window replacement. Through careful preparation and installation, individuals can convert standard glass into a dynamic surface that responds to environmental changes, enhancing energy efficiency.
Understanding Electrochromic Window Film
This film incorporates multiple layers that alter transparency upon exposure to an electrical current. Activation shifts the film from transparent to opaque, modulating sunlight and heat entry. In its clear state, the film permits unobstructed views and ample natural illumination. When activated, it diminishes glare, filters ultraviolet rays, and curbs thermal influx, thereby elevating indoor comfort and minimizing cooling requirements.
Electrochromic films surpass static tints by enabling manual or automated adjustments. Users tailor the shading to match weather patterns or personal preferences. Such adaptability fosters energy conservation alongside visual harmony, rendering interior environments more versatile.
Comparing Smart Window Film Options
Variations in electrochromic technology vary by installation demands and operational features. Factory-integrated versions suit new constructions, whereas retrofit films accommodate existing setups. DIY enthusiasts favor retrofit options for their accessibility.
| Option | Initial Cost | Lifespan | Maintenance | Best For |
|---|---|---|---|---|
| Basic manual film | Low | 8 to 10 years | Minimal cleaning | Apartments, small rooms |
| Remote-controlled film | Moderate | 10 to 15 years | Occasional recalibration | Home offices, living areas |
| Automated smart film | High | 15 to 20 years | Software updates, calibration | Whole-home systems |
Manual variants operate via basic power adapters and suit modest applications. Remote models feature wireless controls for tint adjustments via apps or devices. Automated configurations link to home networks, responding to sensors that detect light intensity or ambient temperature.
Evaluating the Benefits
Electrochromic film optimizes thermal management across seasons. In summer, activated tinting deflects solar heat, easing reliance on air conditioning. In winter, the clear mode captures passive solar warmth. This dual functionality stabilizes indoor climates and trims utility expenses over time.
Additional advantages encompass:
- UV protection: Filters up to 99 percent of harmful rays, safeguarding textiles and surfaces from discoloration.
- Glare reduction: Customizable opacity minimizes distractions during work or leisure activities.
- Privacy control: Opaque settings obscure views from exterior vantage points without eliminating light.
- Aesthetic flexibility: Options in neutral tones integrate seamlessly with diverse interior schemes.
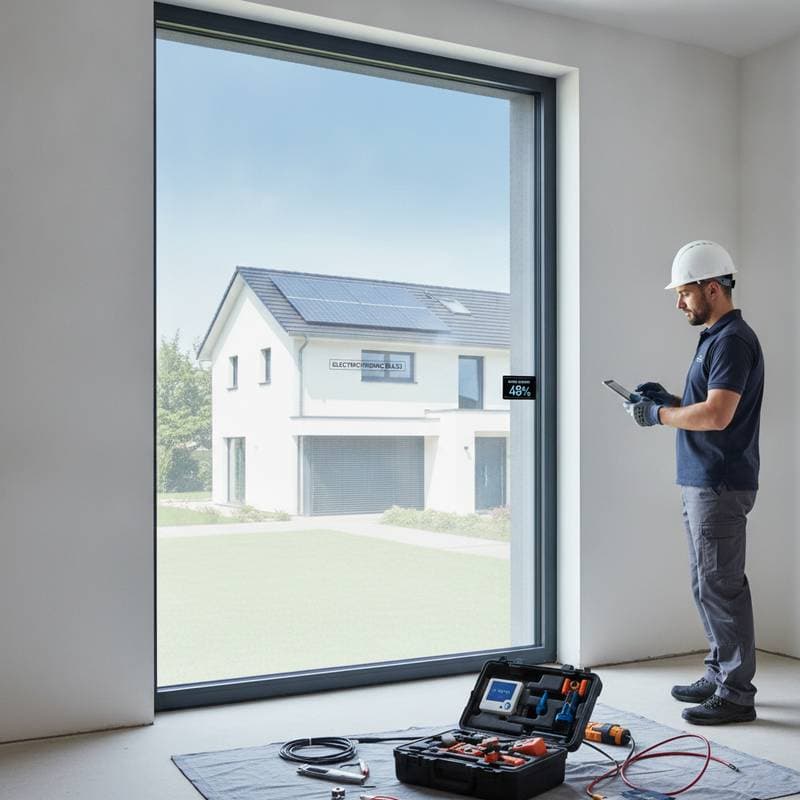
Potential challenges include precise application to prevent defects and secure electrical integration. Homeowners lacking electrical expertise may engage specialists for complex setups.
Lifecycle Considerations
Assess durability and upkeep when selecting electrochromic film. Premium products sustain efficacy for over ten years with diligent care. Employ soft cloths and neutral cleaners for routine washing to avoid surface degradation.
Energy draw remains low; activation consumes brief power bursts, after which the film retains its state passively. In sun-intensive regions, cumulative savings from reduced HVAC operation surpass upfront investments within several years.
Preparing for Installation
Accurate measurements form the foundation of successful application. Films arrive in customizable sheets or rolls; precise cuts minimize material loss and promote seamless coverage.
Thoroughly degrease and dust the glass surface prior to adhesion. Strip away prior films or coverings. Assemble these essentials:
- Electrochromic film sheets
- Power adapter and control unit
- Wiring harnesses and terminals
- Squeegee, precision cutter, and tape measure
- Isopropyl alcohol and microfiber towels
Map electrical pathways along frames or moldings in advance. Low-voltage systems pose minimal risks for DIY, though professional review benefits those uncertain about circuits.
Step-by-Step Application Process
- Planning and evaluation: Measure panes, identify power sources, and confirm system compatibility.
- Preparation steps: Wipe glass with alcohol solution and allow full drying.
- Main implementation: Remove backing liner, position film squarely, and expel bubbles with squeegee strokes from center outward. Excise surplus edges for flush borders.
- Quality assurance: Scan for voids or wrinkles; reposition and repress as necessary.
- Electrical connection: Attach leads to supply unit and activate to verify tint response.
- Completion and follow-up: Conceal cables, restore furnishings, and observe functionality during initial operation.
Patience yields professional outcomes; uniform adhesion and hidden wiring elevate the final appearance.
Troubleshooting Common Issues
Bubbles arise from rushed application; gently peel and reseat affected sections with added solution. Electrical faults stem from loose joints; inspect and reseat components systematically.
Uneven tinting resolves through repeated clear-to-opaque cycles for recalibration. Optimal installation occurs in controlled environments, avoiding high humidity or temperature extremes that compromise bonding.
Cost and Value Balance
Initial outlay exceeds conventional films, yet payback materializes via sustained efficiencies. Factors like pane area, regional climate, and utility tariffs influence recovery timelines.
Weigh these elements:
- Energy savings: Annual reductions in cooling loads by 20 to 30 percent.
- Comfort: Uniform temperatures and reduced visual fatigue.
- Longevity: Preserves glass integrity, deferring costly overhauls.
- Aesthetic control: Instant adjustments enhance daily usability.
Overall, the fusion of fiscal and experiential gains validates the adoption.
Matching Your Needs
Tailor selections to spatial and lifestyle demands. Compact areas thrive with manual controls, whereas expansive layouts warrant networked solutions.
Key considerations include:
- Climate: Pronounced benefits in arid or equatorial zones.
- Usage patterns: Automated features suit high-traffic daylight zones.
- Budget: Pilot in select areas to gauge efficacy before scaling.
- Aesthetic preference: Select opacities aligning with room functions.
Optimal choices harmonize expense, ease, and performance with routine habits.
Maintenance and Long-Term Care
Preserve functionality through regular, gentle cleaning with pH-neutral solutions. Steer clear of harsh chemicals that erode conductive layers. Cycle controls monthly to affirm responsiveness.
For integrated systems, apply firmware patches as released. Annual inspections of connections prevent degradation. These practices prolong service life and sustain efficiency gains.
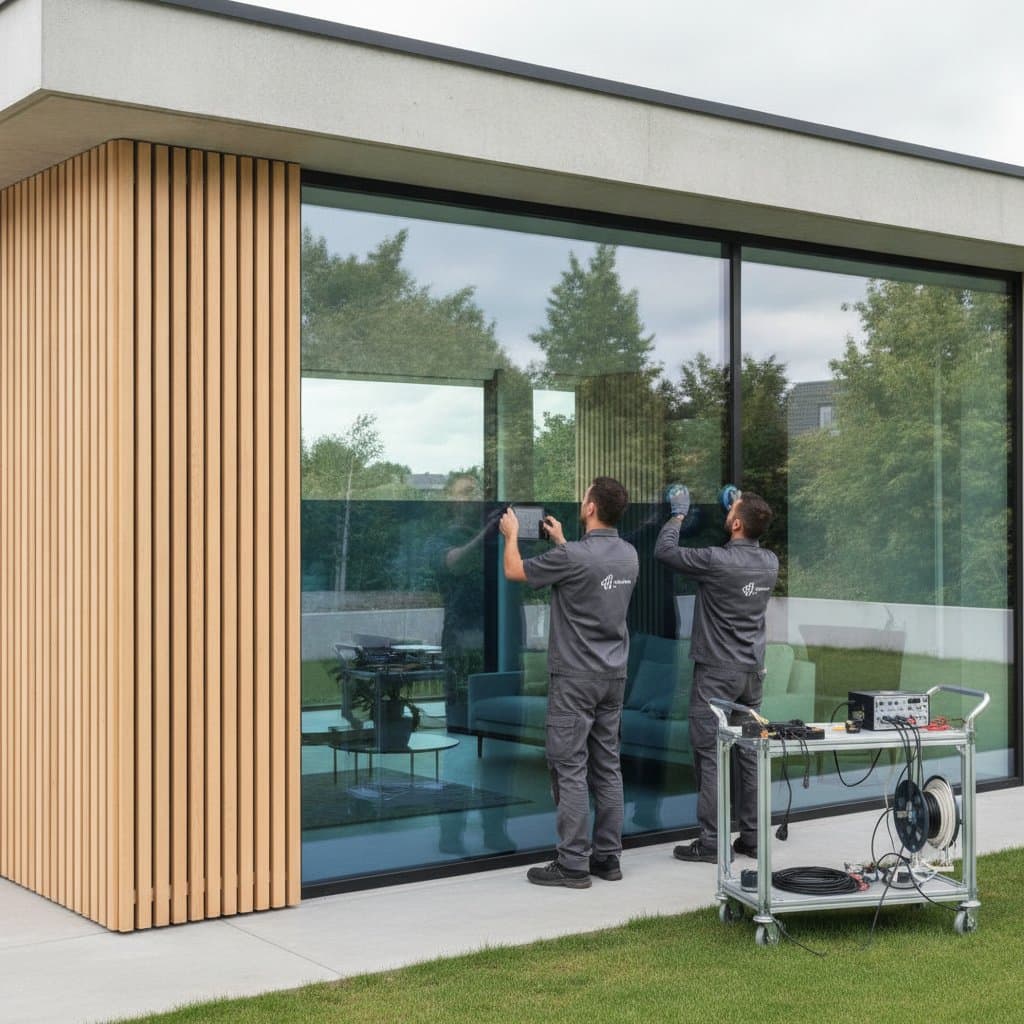
Working with Contractors
DIY suits straightforward projects, but expansive or wired installations merit expert intervention. Professionals handle intricate routing and synchronization with home automation.
Vet candidates by portfolio and endorsements. Confirm proficiency in electrochromic mechanics and electrics. Outline post-install support and guarantees upfront.
Achieving Lasting Efficiency
Electrochromic window film advances sustainable home design by empowering precise environmental command. It alleviates HVAC burdens, fortifies privacy, and infuses contemporary functionality.
From isolated applications to comprehensive retrofits, this solution yields enduring enhancements in livability and resource use. Thoughtful implementation delivers outcomes that align with modern homeowner priorities.