Achieve Instant Privacy with 30-Minute DIY Window Film
Privacy shapes the atmosphere of any living space. A home office exposed to passersby or a bathroom window vulnerable to outside glances can disrupt daily comfort. DIY privacy film offers an accessible solution, particularly modern smart variants that enable rapid shifts in visibility. Electrochromic films, for instance, transition from clear to opaque in moments upon activation, with installation typically requiring only about 30 minutes per window. This approach merges advanced technology with straightforward application to deliver both functionality and aesthetic appeal.
Understanding Smart Window Film
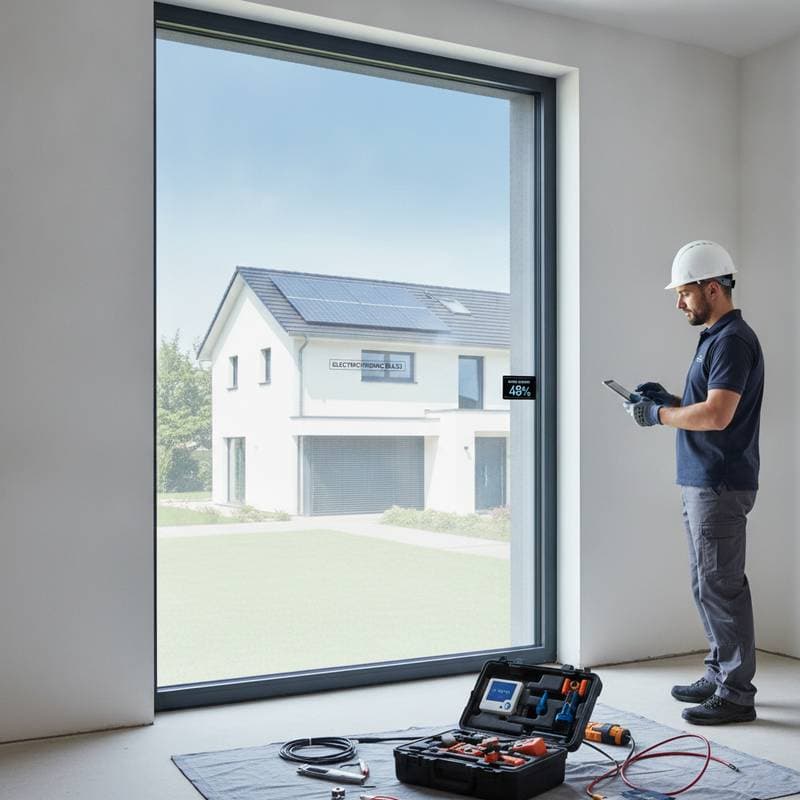
Smart window film, often referred to as electrochromic film, incorporates a specialized polymer layer sandwiched between conductive sheets. When an electric current passes through, the layer alters its light transmission properties, allowing the film to switch between transparent and frosted states. This technology suits environments like bedrooms, bathrooms, and professional offices where balancing natural light and seclusion matters. In contrast to permanent frosted glass, electrochromic film provides on-demand adjustability, permitting clear views during daylight hours and immediate privacy as evening approaches or needs arise.
The process relies on low-voltage power, often supplied via a simple wall switch or remote control, ensuring safe operation without complex wiring. Homeowners appreciate how this film preserves the window's original frame while adding smart home compatibility. For spaces with varying light requirements, such as conference rooms or sunlit kitchens, the ability to control glare and heat gain enhances overall usability.
Comparing Privacy Film Options
Selecting the right privacy film involves weighing factors like adhesion method, cost, and functionality. Adhesive films bond permanently to the glass surface, ideal for long-term installations, whereas static-cling varieties adhere through electrostatic charge, facilitating easy adjustments or removal without residue. Electrochromic options command a higher price due to their electronic components but deliver superior versatility, including potential energy savings by reducing reliance on blinds or curtains.
Standard frosted films provide a static solution at minimal expense, while advanced electrochromic types integrate with home automation systems for voice-activated control. Consider the environment: high-humidity areas like bathrooms benefit from durable, moisture-resistant materials. Below is a comparison to guide your decision.
| Option | Initial Cost | Lifespan | Maintenance | Best For |
|---|---|---|---|---|
| Standard Frosted Film | Low | 5 to 7 years | Wipe with mild cleaner | Permanent privacy on a budget |
| Static Cling Film | Low to Moderate | 3 to 5 years | Easy to clean and remove | Renters or temporary setups |
| Electrochromic Film | Moderate to High | 10+ years | Minimal upkeep, occasional electrical check | Smart homes and flexible spaces |
This table highlights trade-offs, such as the longer durability of electrochromic film offsetting its upfront expense through reduced replacement needs.
Step-by-Step Installation Guide
Most privacy film installations demand no specialized skills, though precision ensures professional results. Gather tools including a utility knife, squeegee, spray bottle, and lint-free cloth before starting. Work in a well-lit area to spot imperfections early.
-
Measure and Prepare: Accurately measure the window dimensions and cut the film sheet about one inch larger on all sides for overlap. Clean the glass surface with glass cleaner and a microfiber cloth to eliminate dust, fingerprints, or oils that could cause bubbling.
-
Apply Solution: Fill a spray bottle with a mixture of distilled water and a drop of baby shampoo. Generously mist the glass and the film's adhesive side to create a slippery surface for manipulation.
-
Position the Film: Carefully peel away the protective backing from one corner. Starting from the top, align the film with the window edge and lower it slowly onto the wet surface, using your fingers to guide placement.
-
Smooth and Secure: Employ the squeegee to press the film from the center outward in even strokes, forcing out water and air bubbles. Pay extra attention to edges to prevent lifting over time.
-
Trim and Cure: Once adhered, trim excess film with the utility knife for a flush fit. Allow the installation to dry for at least 24 hours in a dust-free environment before testing functionality or cleaning.
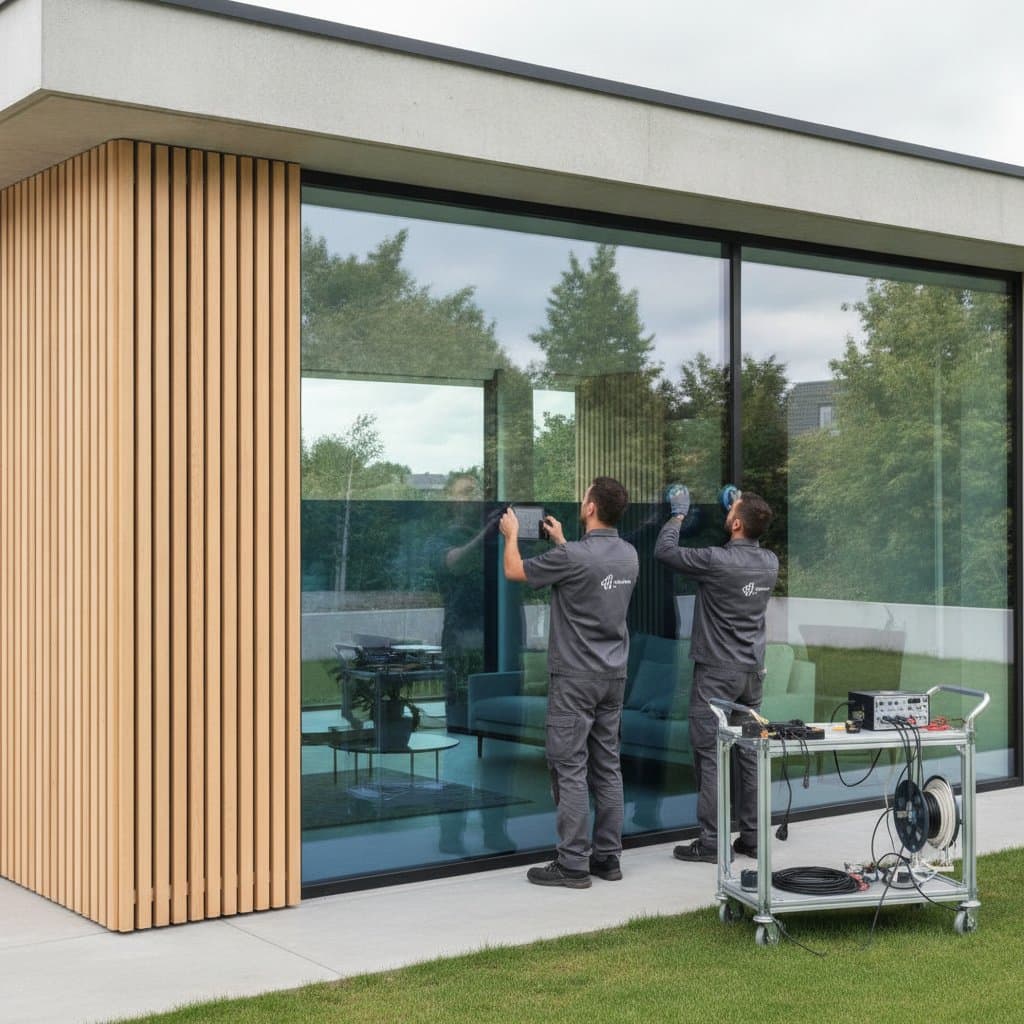
Common pitfalls include rushing the smoothing step, which traps bubbles, or skipping thorough cleaning, leading to adhesion failures. For electrochromic films, connect the power leads securely during this phase, following the manufacturer's wiring diagram to avoid electrical issues.
Ongoing Maintenance and Durability
Routine care keeps privacy films performing optimally with minimal effort. Use a soft cloth dampened with water and mild soap for cleaning, steering clear of ammonia-based products that might degrade the coating. For electrochromic variants, inspect wiring connections quarterly to confirm reliable operation.
Proper handling extends lifespan significantly. Avoid direct exposure to extreme heat sources, such as radiators, which could warp the material. In humid settings, ensure ventilation to prevent moisture buildup under the film. With these practices, films maintain their optical clarity and responsiveness for years, often outlasting traditional window treatments.
Tailoring Privacy Solutions to Your Space
Assess your specific requirements to select the most effective film type. Renters might opt for static-cling films that leave no trace upon removal, preserving security deposits. Homeowners renovating bathrooms or offices could choose electrochromic systems for their integration with lighting controls, fostering a seamless smart environment.
Factor in light preferences: films that allow partial tinting preserve views while diffusing harsh sunlight. Budget considerations play a role, yet the long-term advantages of dynamic control often justify investment. Through thoughtful selection and execution, this upgrade delivers enduring privacy, elevates interior aesthetics, and supports comfortable, adaptable living.