DIY Electrochromic Windows: Achieve Smart Privacy for Under $500
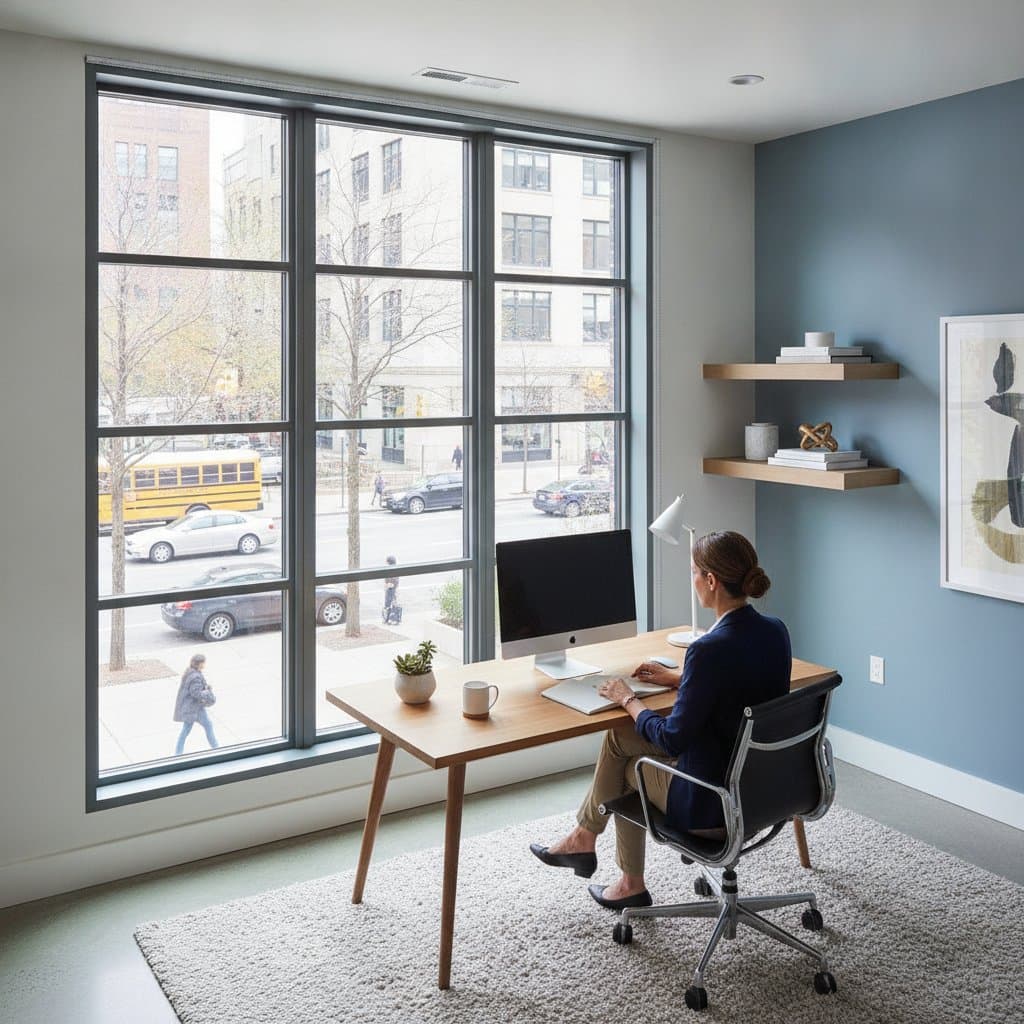
Homeowners now access smart technology without expensive renovations. Electrochromic window film kits enable the conversion of ordinary glass into switchable privacy panels at a fraction of professional costs. This approach delivers precise light and visibility control, ideal for bathrooms, offices, or living spaces seeking a contemporary edge.
How Electrochromic Windows Function
Electrochromic windows incorporate a specialized film that shifts between clear and opaque states via low-voltage electricity. Users activate this transition through a wall-mounted switch, handheld remote, or smartphone application, based on the selected system. The film employs liquid crystal or polymer-dispersed technologies that rearrange molecules under power, creating a frosted barrier that diffuses light while preserving natural illumination.
In the off state, the film remains fully transparent for unobstructed views. Activation instantly tints or frosts the surface, ensuring privacy without darkening the room excessively. Originally developed for high-end architecture and automotive applications, these films now reach everyday users through user-friendly residential kits requiring only standard household tools.
Detailed Cost Breakdown for Installation
A complete setup for a standard 3-foot by 4-foot window falls between $300 and $500, covering film, controls, and essentials. Costs vary by film durability, integration options, and any electrical modifications.
| Material or Service | Cost Range | Key Features |
|---|---|---|
| Electrochromic film (per square foot) | $25 to $45 | Self-adhesive backing, customizable cuts, reversible transparency |
| Power supply and control kit | $50 to $120 | Transformer unit, basic wiring, options for remote or app integration |
| Installation tools and supplies | $20 to $40 | Squeegee for smoothing, precision knife, glass cleaner, and adhesion spray |
| Optional electrician consultation | $100 to $200 | For hidden wiring runs or multi-window synchronization |
Projects for one window typically total around $400. Scaling to larger or multiple panes involves proportional film purchases and possibly a higher-capacity transformer for even power distribution.
Factors Affecting Total Cost and Performance
Film composition drives the primary expense. Polymer-dispersed liquid crystal films suit most homes due to their affordability and straightforward application compared to premium electrochromic alternatives. Control mechanisms influence pricing as well; permanent wiring installations provide a seamless appearance but demand familiarity with basic circuits, while plug-and-play units simplify setup for novices.
Surface dimensions and contours play a role in material needs. Rectangular flat panes apply easily, but arched or irregular shapes necessitate precise trimming and may use 10 to 20 percent more film to avoid gaps. Films with integrated UV blockers or thermal coatings add $5 to $10 per square foot yet extend lifespan and enhance insulation against heat loss.
Step-by-Step Installation Guide
-
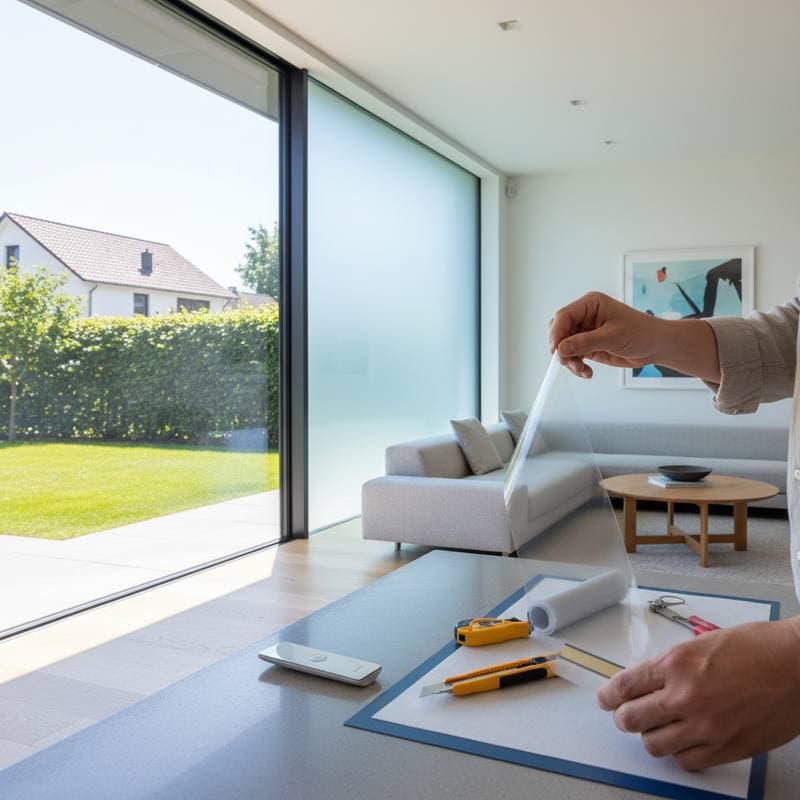
Surface Preparation. Wipe the glass with a lint-free cloth and ammonia-free cleaner to eliminate fingerprints, oils, or particles. Dry completely to promote strong bonding.
-
Measurement and Cutting. Trace the pane's outline on the film with a marker, adding a 1/8-inch border for secure edges. Use a sharp utility knife on a flat surface to score and snap the film cleanly.
-
Solution Application. Spray a soapy water mixture evenly over the glass. This lubricant allows sliding the film into position without immediate sticking.
-
Film Placement. Remove the protective liner from the film's adhesive side and align it carefully on the wet surface. Press from the center outward with a squeegee to expel water and air, working toward the edges.
-
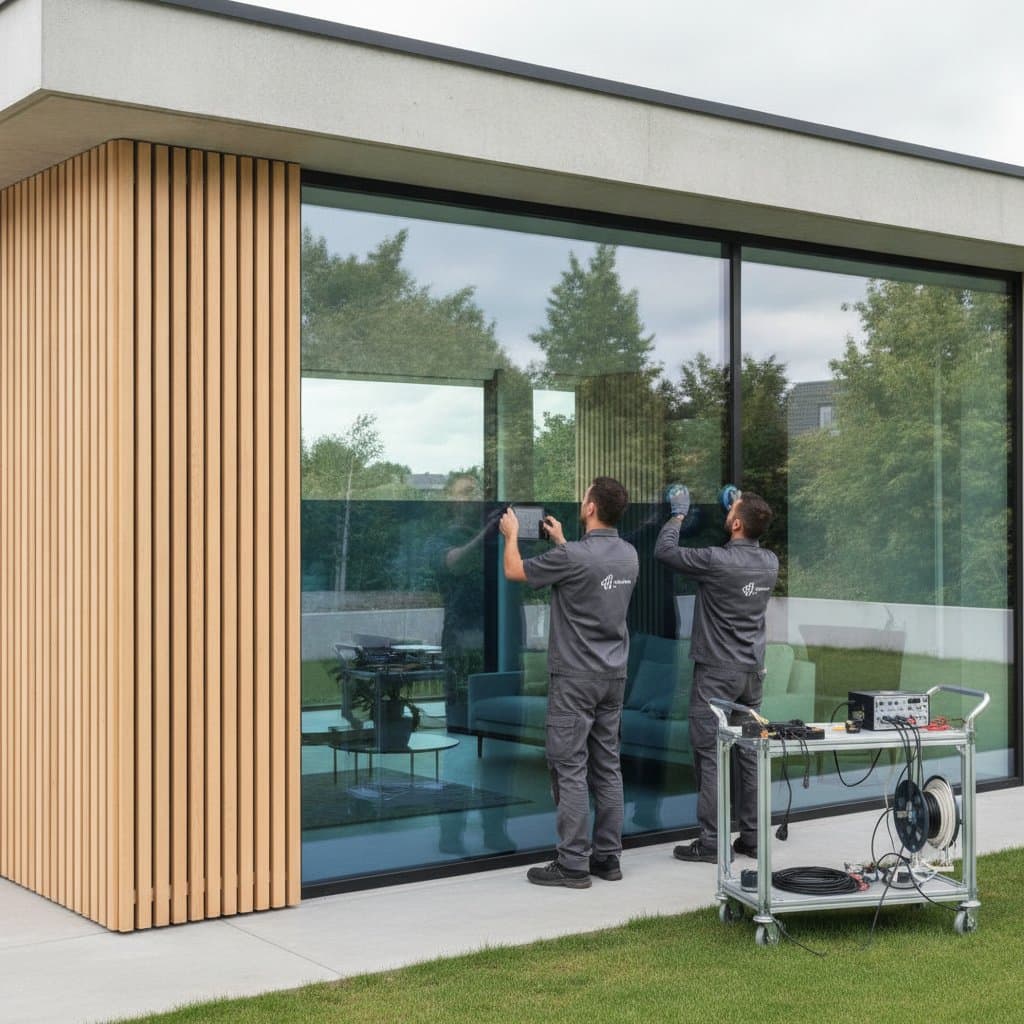
Electrical Connections. Locate the film's conductive bus bars along the edges and attach thin copper leads using provided clips. Route wires to the transformer, securing with tape to prevent movement.
-
Control Setup and Testing. Mount the switch near the window frame or plug into a nearby outlet. Power on and toggle the system, observing for even tinting across the entire area. Adjust voltage if opacity varies.
Most installations span 1 to 2 hours per window. Kits supply detailed diagrams and troubleshooting tips, supporting those with moderate DIY experience.
Advantages Extending to Energy and Comfort
Beyond privacy, electrochromic film mitigates harsh sunlight, safeguarding interiors from fading and overheating. It regulates indoor temperatures by reflecting excess solar radiation, potentially lowering cooling demands by 15 to 20 percent in sunny climates.
Mark Ellison, a residential glazing contractor in Seattle, notes, "Homeowners are realizing they can add modern functionality without replacing their entire window systems. Smart films deliver the same privacy effect at a fraction of the cost."
Care Instructions and Durability
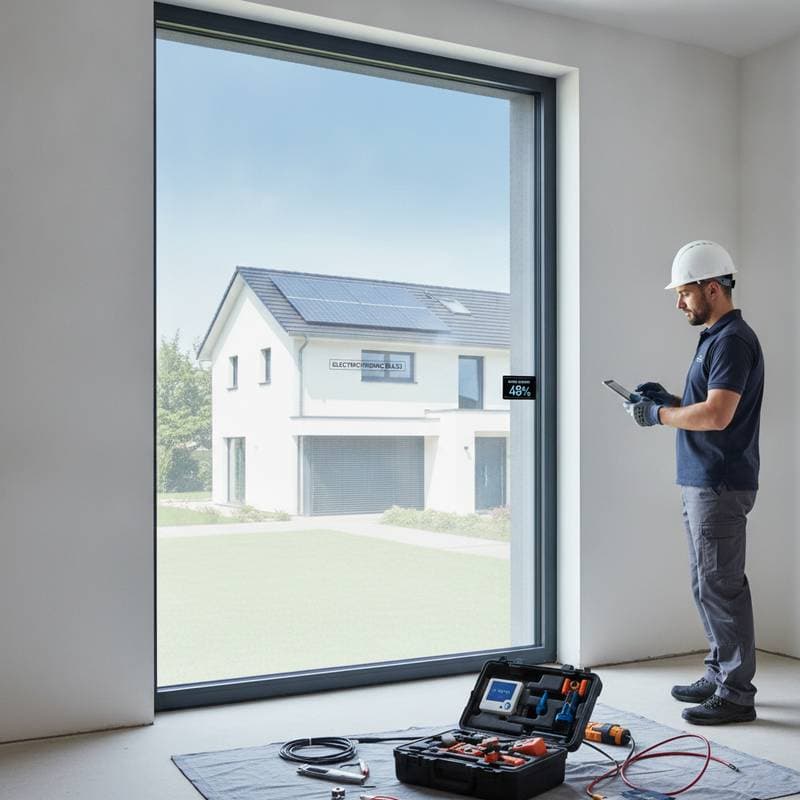
Routine cleaning involves a microfiber cloth dampened with diluted dish soap. Avoid solvents or scrubbers that might degrade the film's coating. Inspect electrical components yearly for loose connections or corrosion, especially in humid environments.
Quality films withstand 10,000 to 50,000 cycles with proper use, equating to decades of reliable operation. Response times remain under 30 seconds, maintaining efficiency over time.
Steps to Launch Your Project
Select a kit from reputable suppliers emphasizing residential compatibility and warranty coverage. Begin with a small test panel to evaluate tint levels in your space's natural light. Gather tools in advance and review local electrical codes for safe integration.
This method transforms basic windows into intelligent features affordably. Homeowners gain customizable privacy, reduced utility bills, and enhanced style through accessible innovation.