Introduction to Smart Tint Film
Electrochromic smart tint film represents a breakthrough in window technology. This innovative material applies directly to glass surfaces and changes opacity with a simple electrical charge. Homeowners gain the ability to control light, privacy, and even temperature without traditional blinds or shades.
The appeal lies in its affordability and ease of installation. For under $200, individuals can cover a standard window, achieving results that rival professional installations. This guide outlines the process, from selection to maintenance, ensuring a smooth transformation.
Benefits of Electrochromic Smart Tint
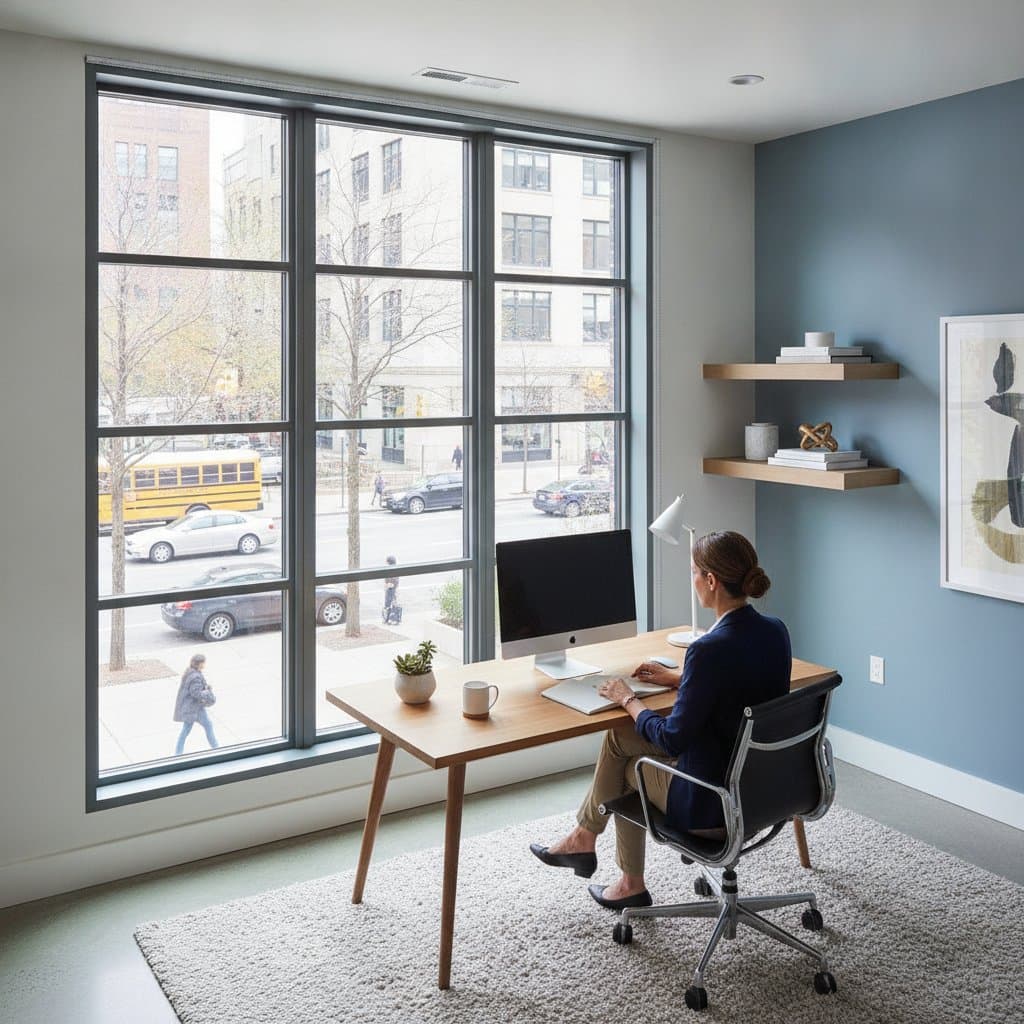
Privacy control stands as a primary advantage. Activate the film to block views instantly, ideal for home offices or living areas. In its clear state, natural light floods the space, enhancing ambiance and reducing reliance on artificial lighting.
Energy efficiency follows closely. The tint reduces solar heat gain, lowering cooling costs in warmer months. Studies indicate potential savings of up to 20 percent on energy bills, making it a practical choice for sustainable living.
Aesthetic versatility completes the package. Available in neutral tones, the film integrates with various interior styles. It eliminates the clutter of curtains, offering a clean, modern appearance that elevates any room.
Selecting the Right Smart Tint Film
Begin by assessing window size and power needs. Measure dimensions accurately to calculate material requirements; a 24-inch by 36-inch sheet typically costs $50 to $100. Opt for films rated for residential use, with voltage compatibility for standard outlets.
Consider opacity levels. Basic models offer two states: clear and frosted. Advanced options provide multiple shades, allowing fine-tuned light control. Verify certifications for UV protection to safeguard furnishings from fading.
Budget wisely within the $200 limit. Allocate $100 for film, $50 for tools like squeegees and conductive tape, and $50 for a power supply or controller. Prioritize quality to avoid peeling or inconsistent performance over time.
Climate Considerations
Adapt choices to local conditions. In humid or coastal areas, select films with enhanced moisture resistance and use sealed electrical connections to prevent corrosion. Apply silicone sealants around edges for added protection.
Dry climates demand attention to static buildup. Employ anti-static cleaning solutions during installation and maintenance to ensure smooth operation. These environments also benefit from films with built-in UV blockers to combat intense sunlight.
Preparation and Budget Planning
Thorough preparation ensures success. Clean windows meticulously with glass cleaner and lint-free cloths to remove dust and residues. Tape off surrounding frames to protect paint or wood trim.
Establish budget parameters early. Define a range covering materials, tools, and accessories like wiring kits. Focus initial efforts on high-impact windows, such as those in bedrooms or bathrooms, to maximize privacy gains.
Gather essential tools: utility knife, measuring tape, level, and multimeter for electrical checks. Test the power supply before starting to confirm compatibility. This step prevents costly errors mid-project.
Step-by-Step Installation Guide
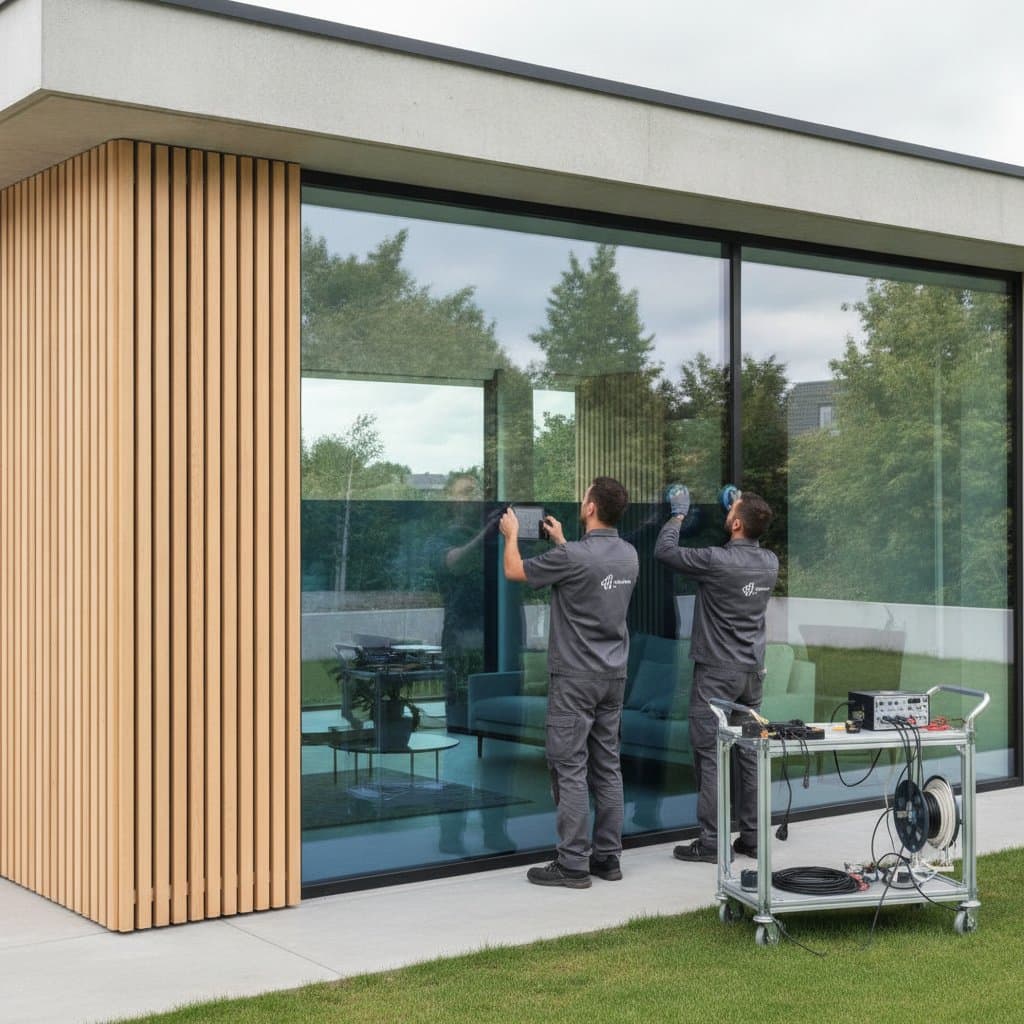
Start with surface preparation. Apply soapy water to the window and position the film, using a squeegee to eliminate bubbles. Trim excess material precisely for a seamless fit.
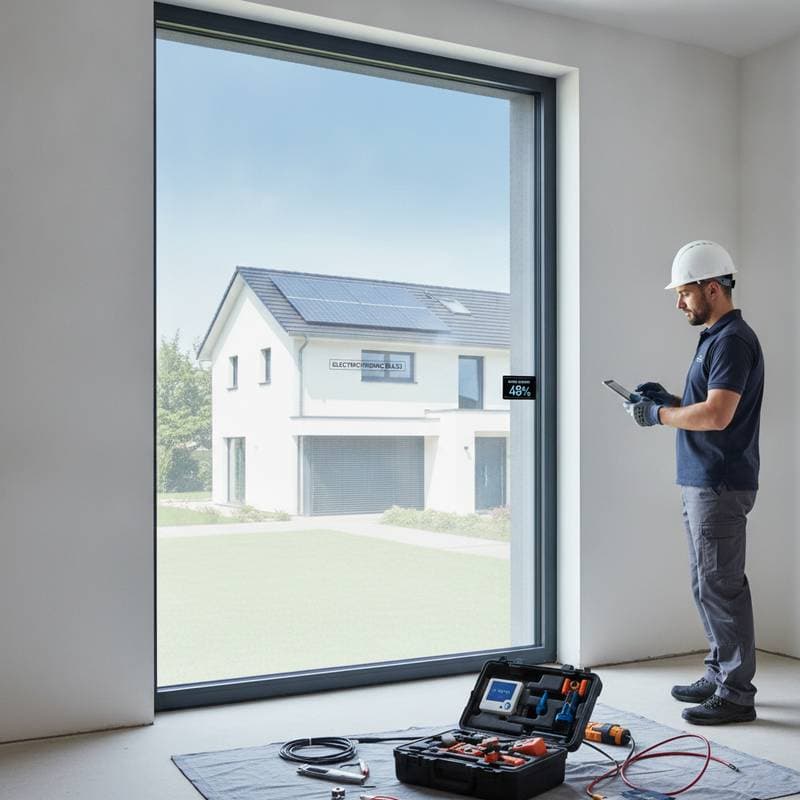
Address electrical integration next. Attach conductive bus bars along edges, connecting them to thin wires. Route wires discreetly behind trim or through existing conduits to maintain aesthetics.
Power the system. Link to a low-voltage transformer plugged into a nearby outlet. Install a switch or remote control for activation. Test functionality in both states to verify even tinting across the surface.
For larger windows, work in sections. Overlap edges slightly and apply conductive adhesive for continuity. Allow 24 hours for full adhesion before exposing to moisture or direct sun.
Integrating with Home Design
Personalize the upgrade to suit your space. Coordinate film tone with wood doors and trim for visual harmony. Neutral films blend with traditional interiors, while subtle tints enhance modern setups.
Conceal wiring effectively. Use cord covers painted to match walls or embed controls in smart plugs. This approach preserves the clean lines essential to contemporary design.
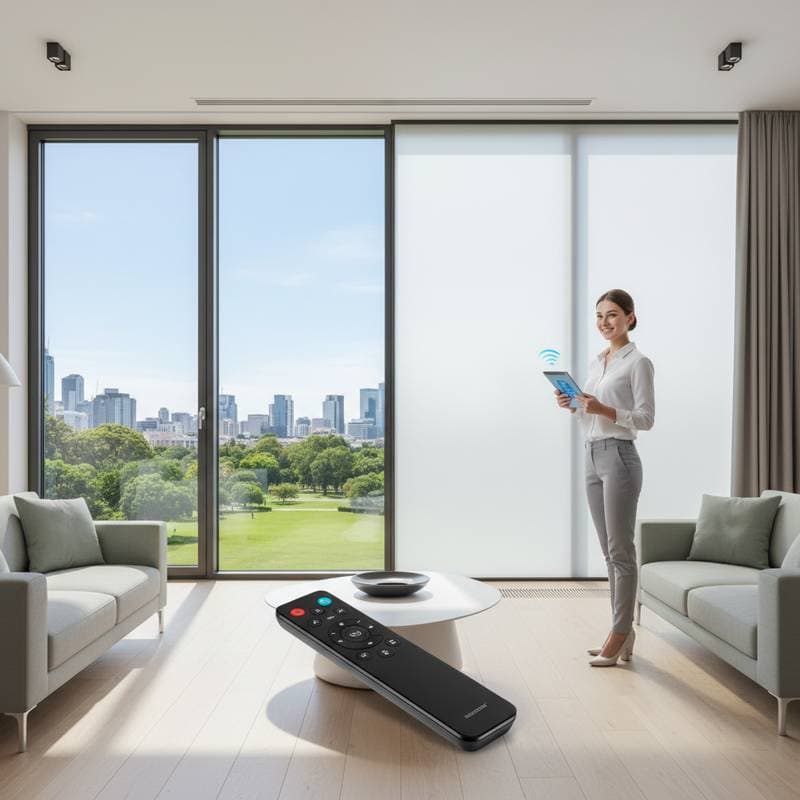
Enhance functionality with automation. Pair the film with voice-activated systems or timers for hands-free operation. Schedule morning clear states to welcome sunlight, transitioning to privacy mode in evenings.
Maintenance and Long-Term Care
Regular upkeep extends lifespan. Clean the surface monthly with a soft microfiber cloth and mild solution, avoiding abrasives. Inspect connections quarterly for wear, especially in variable climates.
Troubleshoot common issues promptly. If tinting fails, check power flow with a multimeter and reseat connections. Replace film sections if discoloration occurs, a rare event with quality products.
Monitor energy impacts. Track utility bills post-installation to quantify savings. Adjust usage patterns, such as activating tint during peak sun hours, to optimize efficiency.
Achieving Lasting Value
A well-executed smart tint project delivers ongoing benefits. Homeowners enjoy adaptable spaces that respond to daily needs, from work to relaxation. The initial investment yields returns through reduced energy use and enhanced comfort.
This technology democratizes smart home features. It proves that innovation need not demand high costs or complex setups. With attention to detail, any window becomes a gateway to efficient, stylish living.